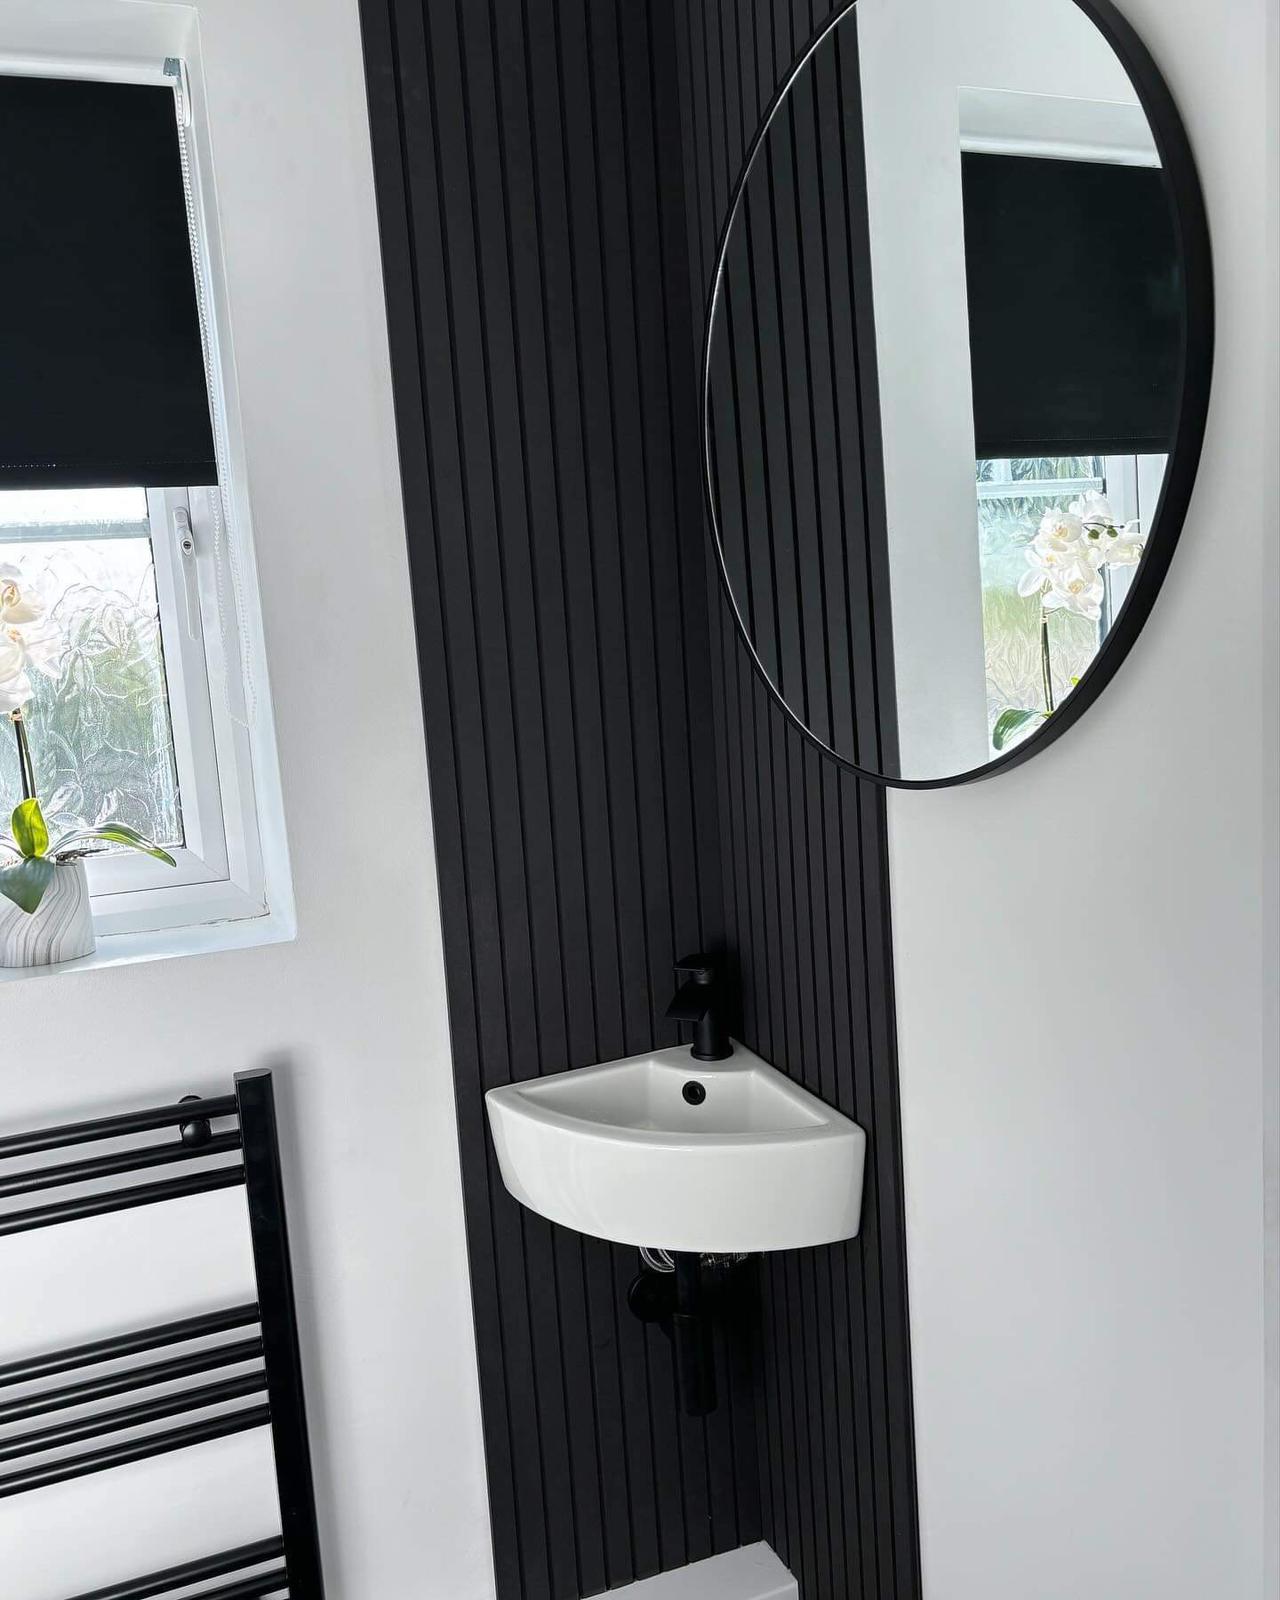
Step-by-Step DIY Guide: How to Panel a Wall Like a Pro
Wall panelling is an excellent way to add character, texture, and warmth to any room. Whether you're aiming for a classic, modern, or rustic look, the right wall panel can transform a space. In this comprehensive guide, we’ll walk you through the process of panelling a wall like a pro, ensuring a stunning result that you can be proud of.
Why Choose Wall Panels?
Wall panels are not only aesthetically pleasing but also functional. They can hide imperfections, provide insulation, and add a layer of protection to your walls. Among the various types of wall panels available, fluted wall panels and slat wall panels have gained popularity for their unique designs and versatility.
What You’ll Need:
Before we dive into the steps, gather the following tools and materials:
- Wall panels (choose from traditional, fluted wall panels, or slat wall panels)
- Measuring tape
- Level
- Pencil
- Saw (hand saw or circular saw)
- Sandpaper
- Adhesive (construction adhesive or panel adhesive)
- Nails and a hammer or a nail gun
- Paint or wood finish (if needed)
- Safety goggles and gloves
Step 1: Measure Your Wall
Start by measuring the height and width of the wall you want to panel. This will help you determine how many panels you need. Remember to account for any doors, windows, or other obstacles. It’s always a good idea to purchase a bit more material than you think you’ll need to accommodate for any mistakes or miscalculations.
Step 2: Choose Your Panels
Decide on the type of wall panel you want to use. Traditional wall panels are great for a classic look, fluted wall panels offer a sleek and modern appeal, and slat wall panels are perfect for adding texture and a contemporary feel. Ensure that the panels you choose are suitable for the room’s environment, especially if it’s a high-moisture area like a bathroom or kitchen.
Step 3: Prepare the Wall
Preparation is key to a successful installation. Clean the wall thoroughly to remove any dirt or debris. If there are any holes or cracks, fill them with a suitable filler and sand smooth once dry. For the best results, the wall surface should be as even as possible.
Step 4: Cut the Panels
Using your measurements, cut the wall panels to fit the height of the wall. If you’re using patterned panels like fluted wall panels or slat wall panels, make sure to align the patterns correctly for a seamless look. Always wear safety goggles and gloves while cutting to protect yourself from dust and sharp edges.
Step 5: Dry Fit the Panels
Before applying any adhesive, do a dry fit by placing the panels against the wall. This will help you make any necessary adjustments before the final installation. Use a level to ensure the panels are straight. Mark the placement lightly with a pencil.
Step 6: Apply Adhesive
Apply a generous amount of adhesive to the back of the first panel. Follow the manufacturer's instructions for the best results. Press the panel firmly against the wall, starting from one corner and working your way out. For added security, you can use nails to hold the panel in place while the adhesive dries. If using nails, ensure they are evenly spaced and hammered in straight.
Step 7: Install Remaining Panels
Continue installing the rest of the panels, making sure each one aligns perfectly with the previous. If you’re using fluted wall panels or slat wall panels, take extra care to match the patterns. Use a level to check alignment regularly. If there are any outlets or switches on the wall, cut out openings in the panels before installation.
Step 8: Finish the Edges
Once all the panels are in place, finish the edges with trim or moulding to give the wall a polished look. This step is particularly important for fluted wall panels and slat wall panels, as it enhances their design features. Cut the trim to size and attach it using adhesive or nails.
Step 9: Sand and Paint
If your panels are unfinished, sand them lightly to smooth any rough edges. Then, apply paint or wood finish as desired. This is where you can get creative with colours and finishes to match your interior décor. For a rustic look, consider a distressed finish, or go for a high-gloss paint for a modern aesthetic.
Step 10: Clean Up
After the paint or finish has dried, clean up any debris and enjoy your newly panelled wall. Regularly dust and clean the panels to maintain their appearance and longevity.
Tips for a Professional Finish
- Patience is Key: Take your time to ensure each panel is level and properly aligned.
- Use Quality Materials: Invest in good quality wall panels, adhesive, and tools for the best results.
- Follow Safety Guidelines: Always wear protective gear when cutting panels and using adhesives.
Conclusion
Wall panelling is a fantastic DIY project that can dramatically improve the look and feel of your home. Whether you opt for traditional, fluted wall panels, or slat wall panels, the process is straightforward with a bit of preparation and patience. Follow this step-by-step guide to panel a wall like a pro and enjoy a beautiful, professional-looking finish.
At Timber Mouldings Direct, we offer a wide range of wall panels to suit every style and budget. Explore our collection today and start your home transformation journey. Happy panelling!

Leave a comment