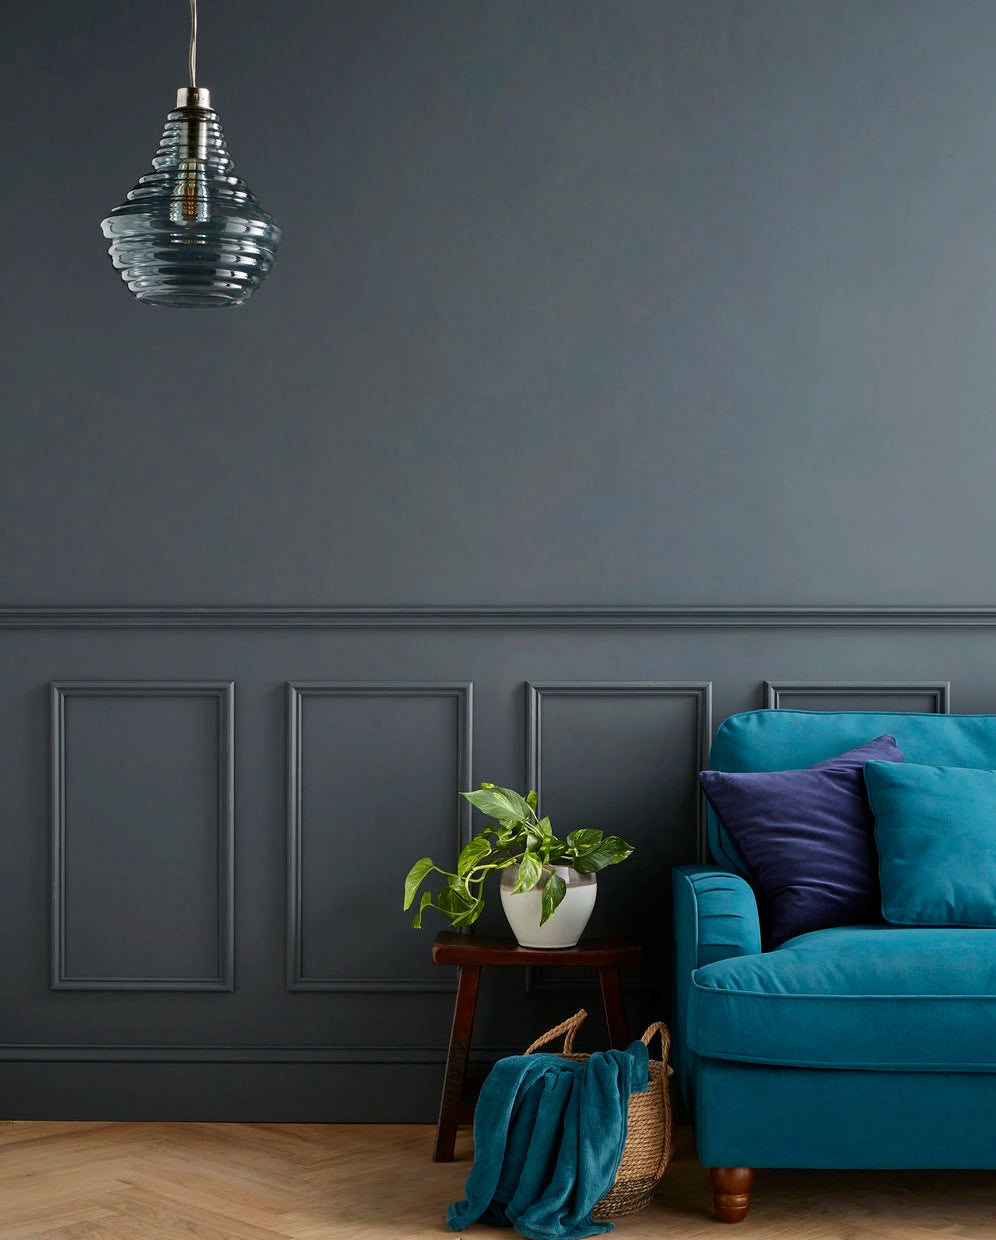
DIY Perfection: A Beginner’s Guide to Installing a Paint-Ready Moulding Kit
Adding a paint-ready moulding kit to your home can instantly elevate your interior design, providing a polished and sophisticated finish. Whether you're updating a single room or renovating your entire home, installing decorative wood mouldings is a fantastic DIY project that can add both character and value to your space. In this comprehensive guide, we'll walk you through the process of installing a paint-ready moulding kit, ensuring a professional-looking result that you can be proud of.
Why Choose a Paint-Ready Moulding Kit?
Paint-ready moulding kits offer a simple and efficient way to add elegant details to your walls without the need for extensive preparation or finishing. These kits are pre-primed and ready for paint, making them an ideal choice for DIY enthusiasts and beginners alike. Whether you opt for panel moulds, dado rail panelling, or other wall mouldings and panels, these kits provide a streamlined solution for enhancing your home’s aesthetic.
What You’ll Need
Before you begin, gather the following tools and materials:
- Paint-ready moulding kit (includes panel moulds, dado rail panelling, or other decorative mouldings)
- Measuring tape
- Level
- Pencil
- Mitre saw (or a hand saw with a mitre box)
- Adhesive (construction adhesive or panel adhesive)
- Nails and a hammer or a nail gun
- Wood filler
- Sandpaper
- Paint and paintbrushes or a roller
- Safety goggles and gloves
Step 1: Plan and Measure
Start by planning where you want to install your mouldings. Consider the overall design of your room and how the mouldings will complement your existing décor. Measure the height and width of the areas where you will be applying the mouldings to ensure you have the correct amount of material.
Tip: For dado rail panelling, decide the height at which you want the dado rail to sit. Traditionally, dado rails are placed about one-third of the way up the wall from the floor, but this can be adjusted based on your preference and room proportions.
Step 2: Prepare the Wall
Before installing the mouldings, prepare the wall surface to ensure a smooth application. Clean the wall to remove any dust, dirt, or grease. If there are any holes or imperfections, fill them with wood filler and sand smooth once dry. For the best results, the wall surface should be as even as possible.
Step 3: Cut the Mouldings
Using your measurements, cut the mouldings to fit your wall. For a professional finish, use a mitre saw or a hand saw with a mitre box to make precise cuts at the correct angles. If your moulding kit includes panel moulds or dado rail panelling, ensure that the cuts match the design and layout you’ve planned.
Tip: Always measure twice and cut once to avoid mistakes and wasted materials.
Step 4: Dry Fit the Mouldings
Before applying any adhesive, do a dry fit of the mouldings to check their placement. Position the mouldings on the wall without attaching them and use a level to ensure they are straight. Make any necessary adjustments to ensure a perfect fit.
Step 5: Apply Adhesive
Apply a generous amount of adhesive to the back of the first piece of moulding. Press the moulding firmly against the wall, starting from one end and working your way along the length. Hold the moulding in place for a few moments to allow the adhesive to set.
Tip: For added stability, use nails or a nail gun to secure the moulding to the wall while the adhesive dries. Space the nails evenly and ensure they are driven in straight.
Step 6: Install the Remaining Mouldings
Continue installing the rest of the mouldings, making sure each piece aligns correctly with the previous one. If you’re installing dado rail panelling or other decorative wood mouldings, pay extra attention to align the patterns and achieve a seamless look. Use a level regularly to check that everything is straight and even.
Step 7: Fill and Sand
Once all the mouldings are installed, fill any gaps, nail holes, or seams with wood filler. Allow the filler to dry completely, then sand the surface smooth. This step is crucial for achieving a flawless finish, so take your time to ensure all imperfections are addressed.
Step 8: Paint
With the mouldings prepared and sanded, it’s time to paint. Start by applying a coat of primer if needed, then follow with your chosen paint colour. Use a paintbrush for edges and a roller for larger areas. Apply multiple coats if necessary, allowing each coat to dry fully before applying the next.
Tip: For a professional finish, consider using a high-quality paintbrush and painter’s tape to protect adjacent surfaces from splatters.
Step 9: Clean Up
After the paint has dried, remove any painter’s tape and clean up your workspace. Dust off the mouldings and enjoy the newly enhanced look of your room. Regularly dust and clean the mouldings to maintain their appearance and longevity.
Tips for a Successful Installation
- Patience and Precision: Take your time to measure, cut, and install the mouldings accurately.
- Quality Materials: Invest in a high-quality paint-ready moulding kit for the best results.
- Safety First: Always wear protective gear when cutting and handling materials.
Conclusion
Installing a paint-ready moulding kit is a fantastic DIY project that can dramatically improve the look of your home. Whether you’re incorporating panel moulds, dado rail panelling, or other decorative wood mouldings, following these steps will help you achieve a professional finish with ease.
At Timber Mouldings Direct, we offer a wide selection of paint-ready moulding kits to suit every style and budget. Explore our collection and start transforming your home today. With a bit of patience and attention to detail, you’ll achieve DIY perfection and enjoy a beautifully enhanced space.

Leave a comment