
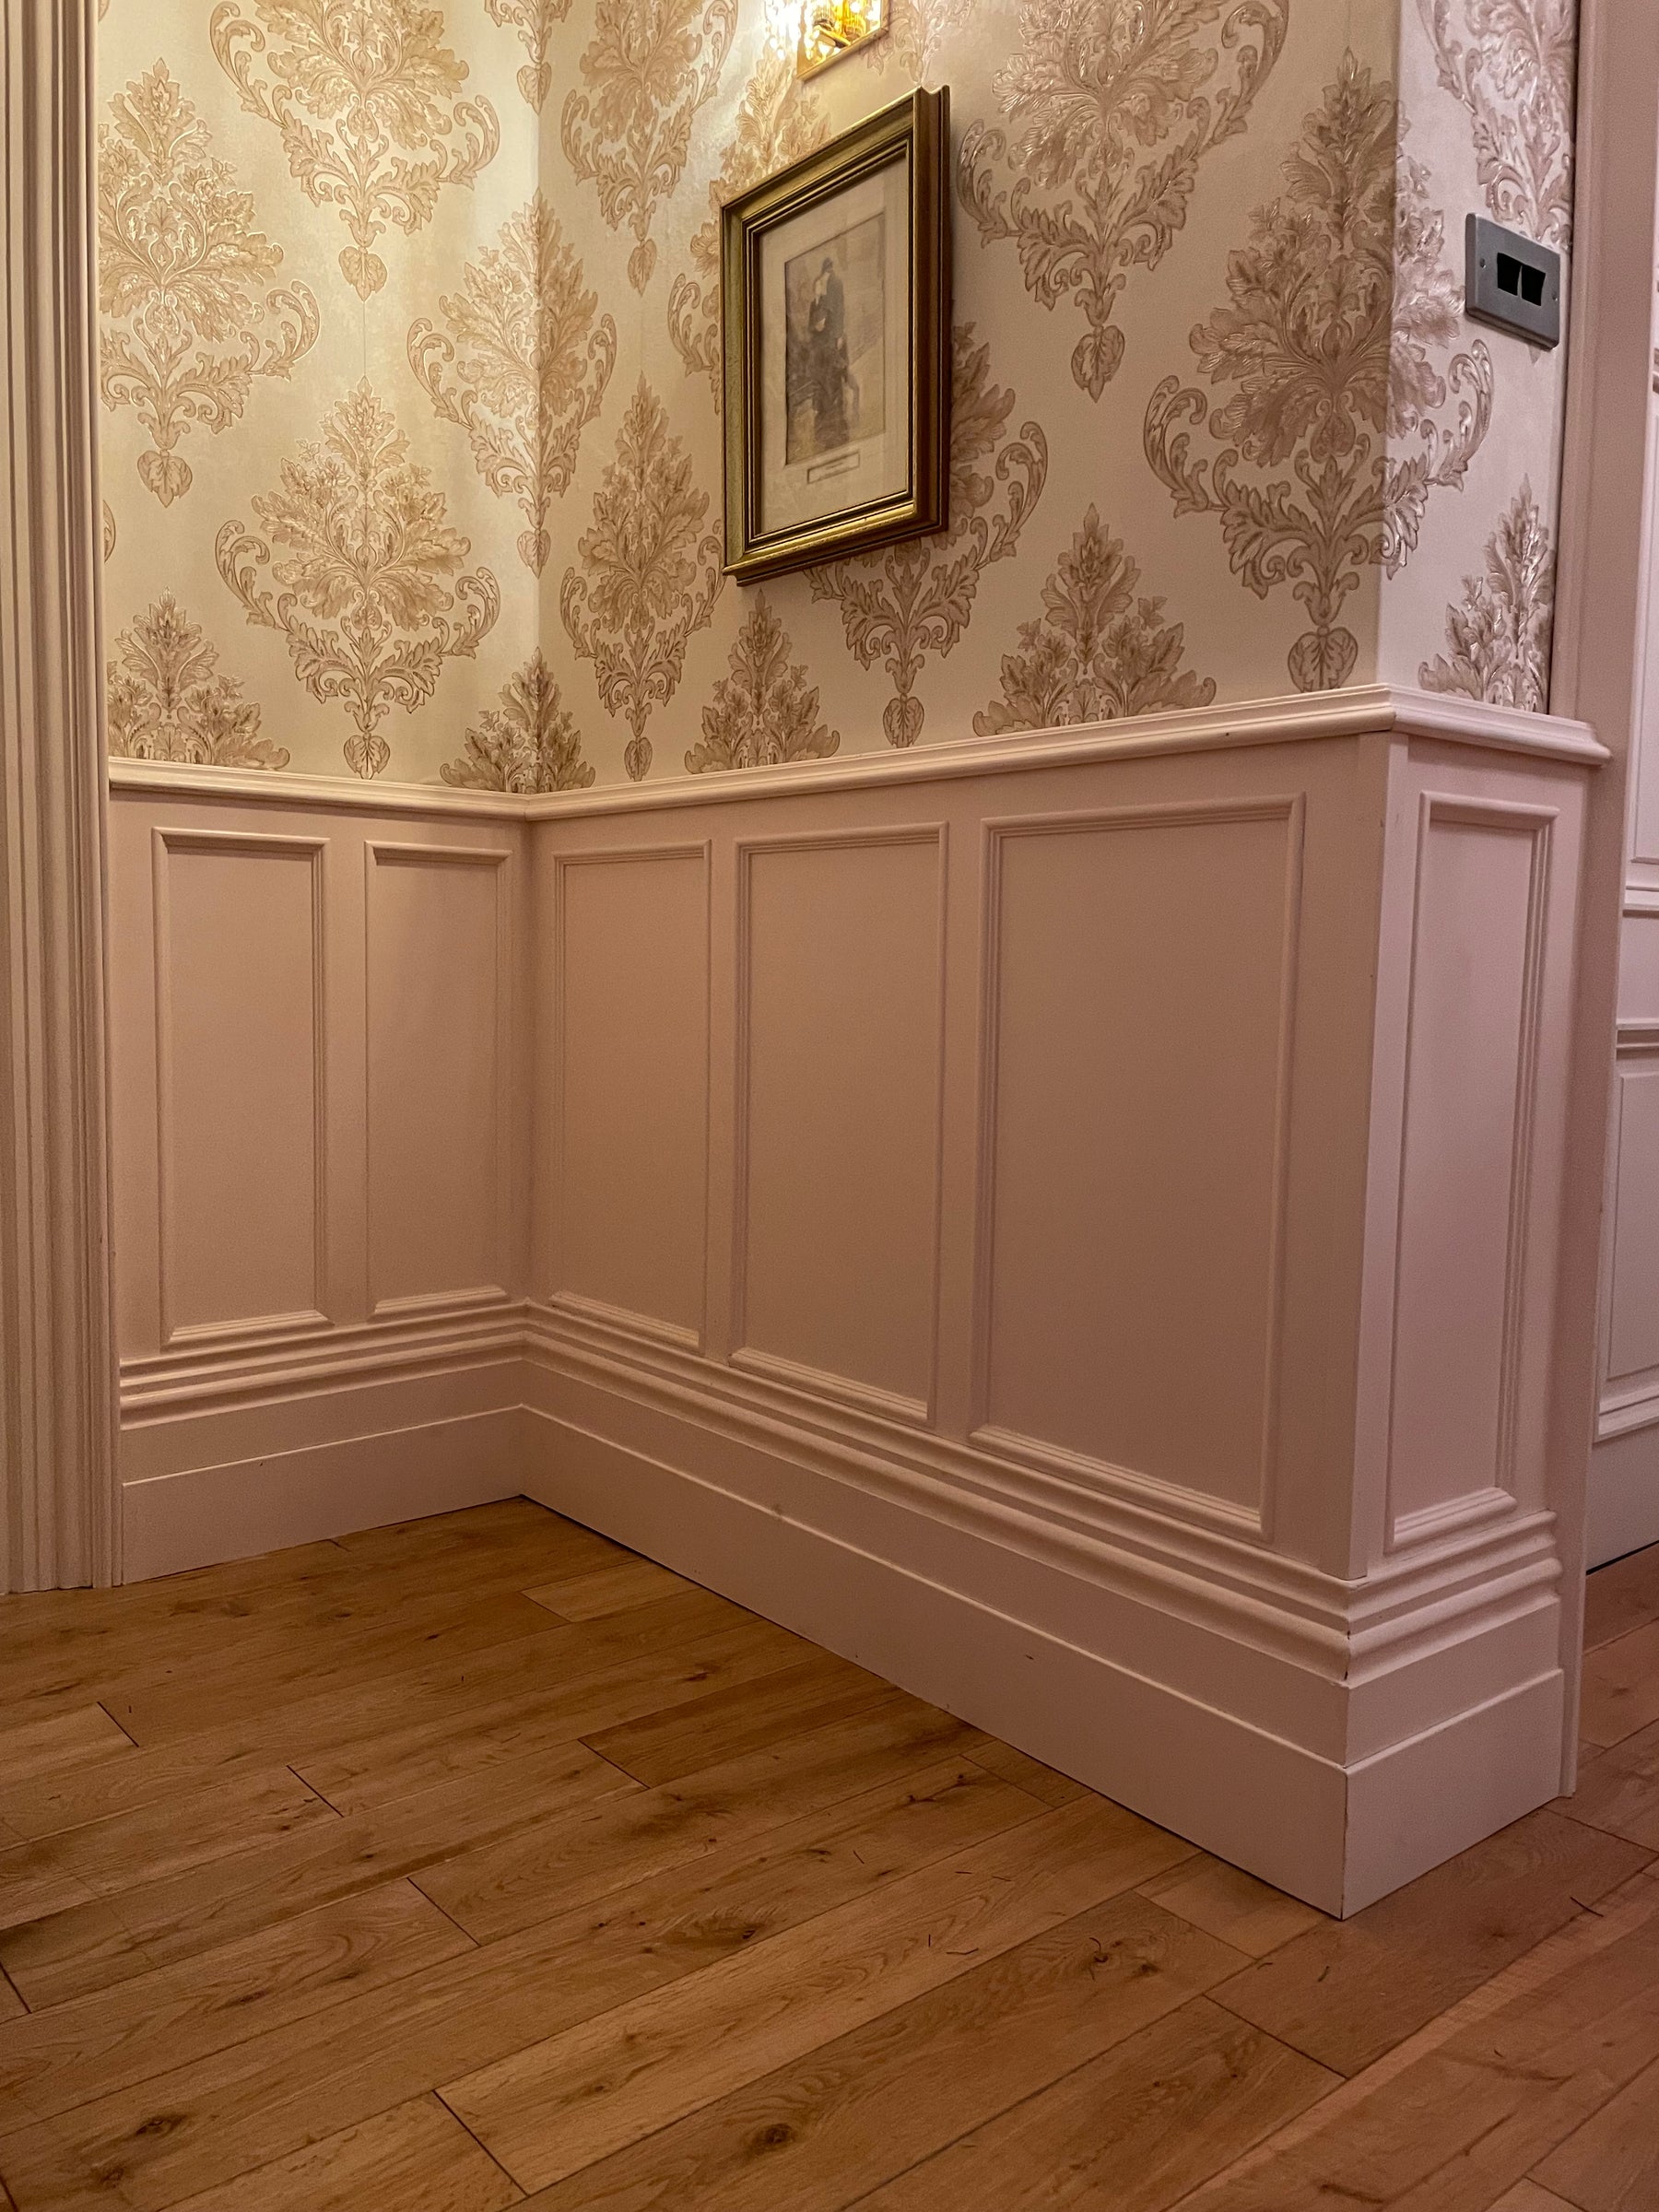
Adding Charm to Your Walls with Shaker-Style Panelling
Shaker-style panelling is a classic design choice that brings timeless elegance and a touch of sophistication to any interior. This traditional style of panelling is renowned for its clean lines, understated beauty, and versatility. Whether you're renovating a period home or adding character to a modern space, shaker-style panelling offers a charming solution. In this guide, we’ll explore how you can enhance your walls with Shaker-style panelling, focusing on the benefits of using MDF for a practical and stylish finish.
What is Shaker-Style Panelling?
Shaker-style panelling is named after the Shaker community, known for their simple yet functional furniture and design principles. Characterised by its minimalist design and attention to craftsmanship, Shaker-style panelling typically features vertical and horizontal panels that create a grid-like effect on the wall. This design not only adds visual interest but also helps in creating a sense of depth and dimension.
Why Choose MDF for Panelling?
MDF (Medium-Density Fibreboard) is an excellent choice for Shaker-style panelling due to its versatility and ease of use. Here’s why MDF is ideal for your panelling project:
1. Affordability
MDF is a cost-effective material compared to solid wood, making it a budget-friendly option for panelling with MDF. It offers a similar aesthetic to wood but at a fraction of the cost.
2. Smooth Finish
MDF wall panels provide a smooth, even surface that is perfect for painting. This is particularly beneficial for Shaker-style panelling, which often features a sleek, clean look.
3. Easy to Work With
MDF is easy to cut and shape, allowing for precise and custom fit installations. Whether you’re using an MDF wall panel kit or cutting your own decorative MDF wall panels, MDF makes the process straightforward.
4. Stability
Unlike wood, MDF doesn’t warp or crack, ensuring that your panelling maintains its appearance over time. This stability is crucial for achieving a professional finish with decorative MDF wall panels.
How to Install Shaker-Style Panelling with MDF
1. Preparation
-
Measure and Plan: Start by measuring the height and width of the walls where you plan to install the panelling. This will help you determine how much MDF you’ll need and the layout for the panels.
-
Choose Your MDF Panels: Decide whether you’ll use pre-cut MDF wall panels or an MDF wall panel kit. Pre-cut panels can simplify the process, while a kit may require more cutting and assembly.
-
Prepare the Wall: Ensure that your walls are clean, dry, and smooth. Fill any holes or imperfections with filler and sand the surface to create a flat base for the panelling.
2. Cutting and Preparing the MDF
-
Cutting the Panels: Use a circular saw or jigsaw to cut the MDF panels to size. If you’re using an MDF wall panel kit, follow the manufacturer’s instructions for cutting and assembling the panels.
-
Priming: Apply a primer to the MDF panels before painting. This helps to seal the surface and provides a better base for the final paint coat.
3. Installing the Panelling
-
Attach the Panels: Apply a strong adhesive to the back of each MDF panel and press it firmly against the wall. Ensure that the panels are level and aligned with your planned layout.
-
Secure with Nails: For additional stability, use finishing nails or a nail gun to secure the panels to the wall. Make sure to countersink the nails so that you can fill the holes later.
-
Fill and Sand: Once the panels are in place, fill any nail holes and gaps with filler. Sand the surface smooth to prepare it for painting.
4. Painting and Finishing
-
Painting: Apply a coat of primer followed by your chosen paint colour. Shaker-style panelling typically looks best in neutral or muted tones, but you can choose any colour that complements your decor.
-
Final Touches: After the paint has dried, touch up any areas that need it. Clean up any excess paint and remove any masking tape.
Benefits of Shaker-Style Panelling
1. Adds Character
Shaker-style panelling adds a timeless charm to any room. Its classic design enhances the overall aesthetic and creates a focal point that draws attention.
2. Versatile Design
Shaker panelling works well in various settings, from traditional to contemporary interiors. The clean lines and simple design make it adaptable to different styles and colour schemes.
3. Enhances Room Proportions
Deep or wide panelling can help in balancing room proportions, making small rooms appear larger and high ceilings seem more proportionate.
4. Easy Maintenance
MDF panelling is easy to maintain. Regular dusting and occasional touch-ups are usually sufficient to keep the panels looking fresh and new.
Tips for a Professional Finish
-
Precision Cutting: Ensure precise cutting of MDF panels to achieve a seamless fit and professional look.
-
Quality Adhesive: Use high-quality adhesive to secure the panels firmly and prevent any future issues.
-
Sanding and Priming: Proper sanding and priming are crucial for a smooth, durable finish. Don’t skip these steps for the best results.
-
Test Paint Samples: Before committing to a paint colour, test samples on a small section of the panel to see how they look once dried.
Conclusion
Shaker-style panelling offers a sophisticated and timeless way to add charm and character to your walls. By using MDF for your panelling project, you benefit from an affordable, smooth, and easy-to-work-with material. Whether you opt for a pre-cut MDF wall panel or a comprehensive MDF wall panel kit, following these expert tips will help you achieve a stunning finish that enhances the beauty of your space.
At Timber Mouldings Direct, we provide a wide range of MDF panelling options to suit your style and budget. Explore our collection of decorative MDF wall panels and start transforming your home with the elegance of Shaker-style panelling. With the right tools and techniques, you can create a beautifully finished space that exudes charm and sophistication.
Leave a comment